Convert Bachmann 0n30 Freight Cars to 55n3
Bachmann On30 cars can be converted to 55n3, they match several prototypes.
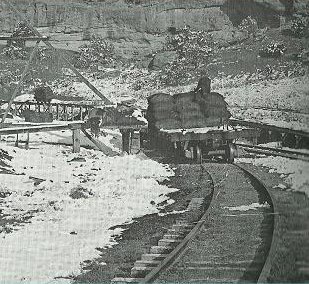
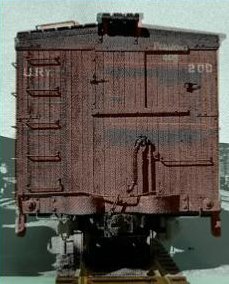
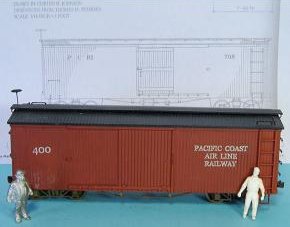
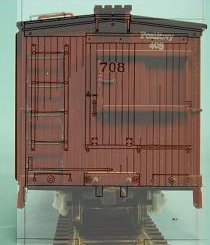
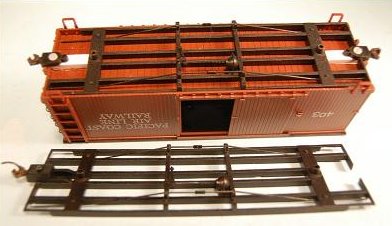
Bachmann On30 cars come close to the Uintah cars. The box cars are a fit for the Pacific Coast Railway box.
Merging an image over the prototype shows how near the cars are.
Merging an image over the prototype shows how near the cars are.
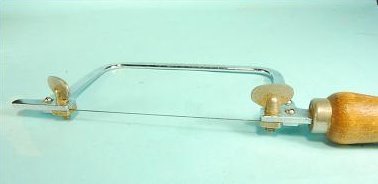
A jeweler's saw and a "frame" are one of my useful tools. "Frames" are commercially available, that is my home-built.
There are two version of Bachmann On30 cars. The late version have this underframe. The bolster is even with the side.
There are replacement underframes available but the price has skyrocketed.
All that is needed is a new coupler pad and new trucks.
There are replacement underframes available but the price has skyrocketed.
All that is needed is a new coupler pad and new trucks.
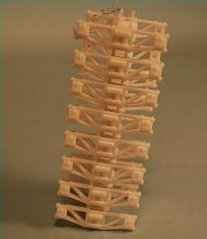
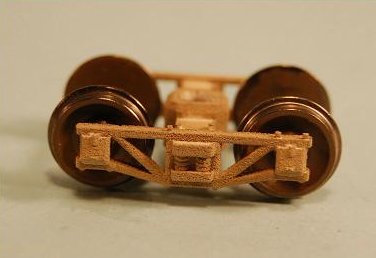
Found these trucks from Myner Models at Shapeways . The trucks set the couplers at "HO" height which is the desired. The rough texture gives a weathered appearance.
Click here to go to Myner Models on Shapeways.
Click here to go to Myner Models on Shapeways.
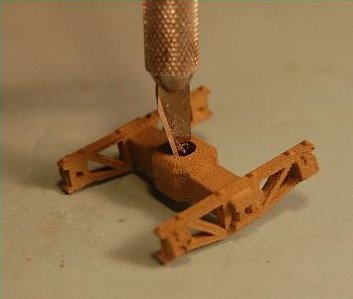
The bolster hole needs to be opened up. Best way is twirling a hobby knife.
Krylon Camo Paint in either Sand or Khaki is used to color the underframe. Spray the frame before cutting the frame apart.
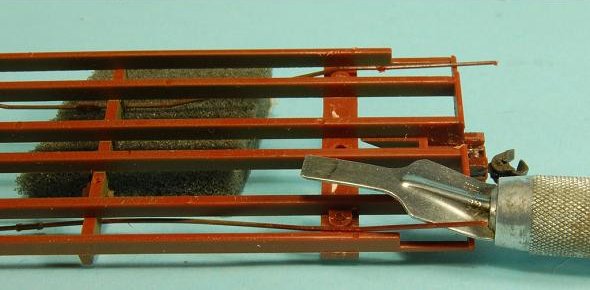
The truss rods at the bolster will either come off easily or need to be carefully cut off with a chisel blade.
The jeweler's saw makes a narrow cut and cuts more easily than any other saw.
The jeweler's saw makes a narrow cut and cuts more easily than any other saw.
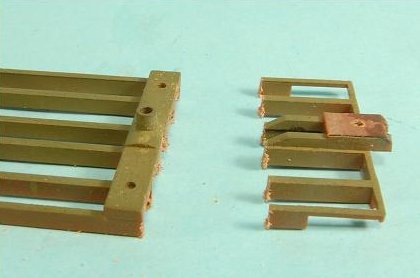
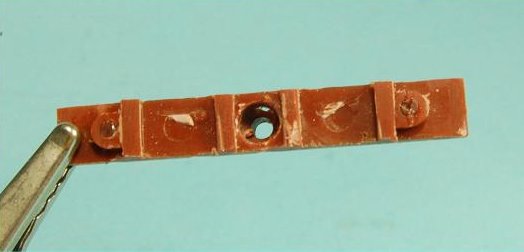
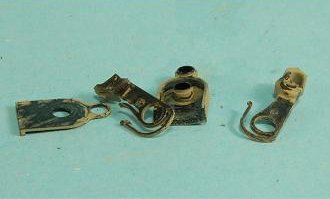
Cut the bolster from the frame.
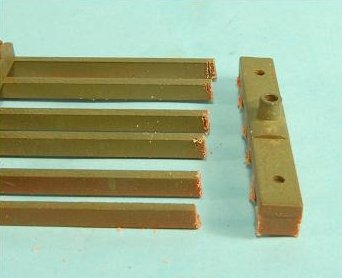
Nip off the frame pieces from the bolster. The frame member has to be filed down level with the truss rod lug.
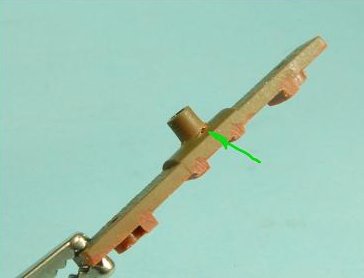
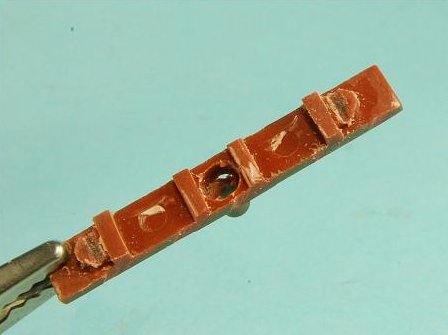
The hole in the bolster has to be enlarged to 11/64 dia. Don't try to enlarge with this drill. Start with a 1/8, then 5/32 then the 11/64. If you go too far there will a breakthrough.
Fit the bolster over the lug on the car body.
Fit the bolster over the lug on the car body.
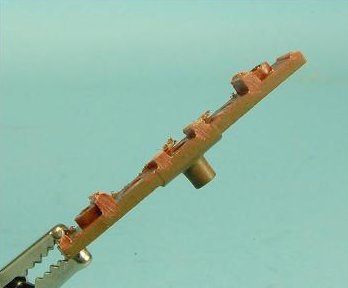
File grooves in the lugs to accommodate the truss rods. Use a hack saw blade and a file.
File the bolster lug down so that the lug is slightly above the truck.
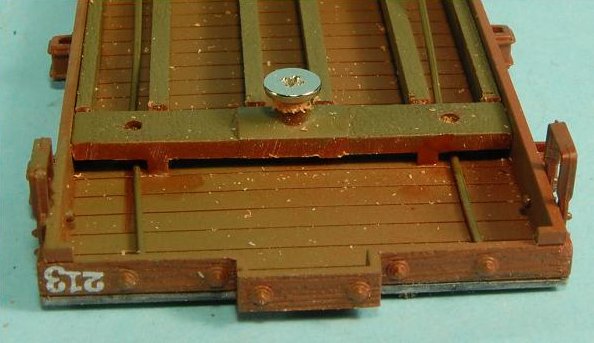
Shorten the truck screw to 1/4" long. Attach the bolster to frame with CA or MEK or an equivalent. Screw the bolster to the frame to hold it in place. Use the solvent glue to attach the frame.
Shorten the truck screw to 1/4" long. Attach the bolster to frame with CA or MEK or an equivalent. Screw the bolster to the frame to hold it in place. Use the solvent glue to attach the frame.
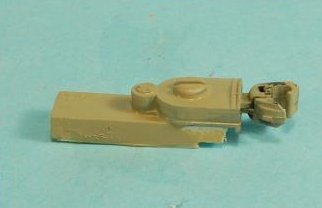
The coupler lug will be mounted on a new lug.
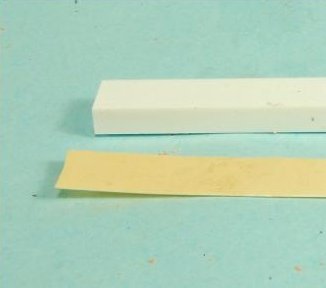
1/4 x 1/8 Styrene
1/4 x .010 Styrene
1/4 x 1/8 Styrene
1/4 x .010 Styrene
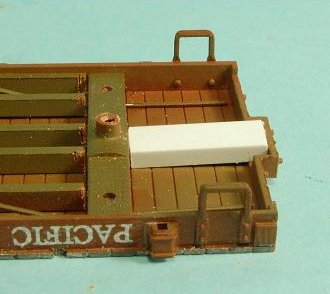
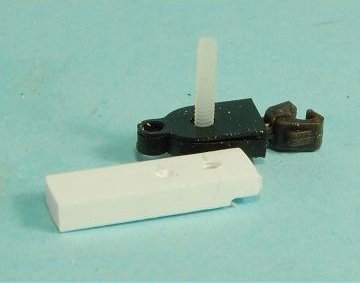
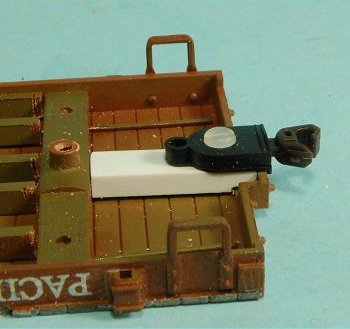
Cut a piece to fit between the bolster and the frame end.
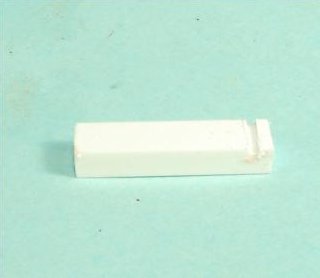
Cutout the piece to fit over the step-up on the frame end. The fastest way is cut a notch to the depth and file the area in front of the notch.
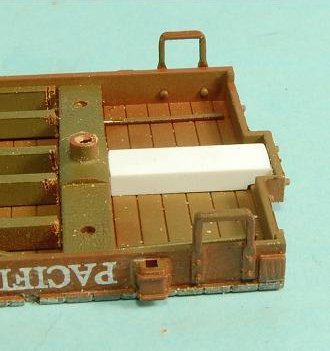
Fit the piece to the frame. The 1/8 thick piece is .010 to low and a piece must be attached to the coupler block.
Accurail's standard HO coupler is the correct size for the modern narrow gauge era. The Accurail coupler doesn't have the hinky spring and the pencil neck of the other HO couplers.
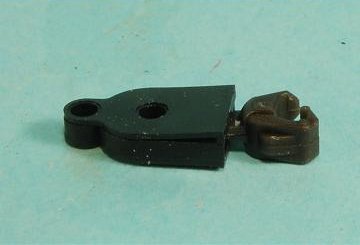
Drill and tap a #2-56 hole 5/32 from the end. Use a nylon screw 3/16 long to mount the coupler. Nylon screws are easier to cut and use.
The lug on the coupler latches over the buffer block on the car. If the coupler doesn't quite fit file on the coupler block.
Glue a piece of 1/4 x .010 styrene to bring the coupler block up the right height.
The are two "bolt heads" on the buffer block. Center the coupler between the "boltheads" and glue the coupler to the car.
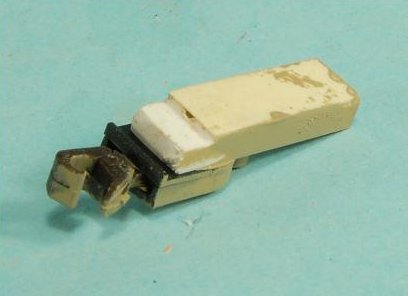
Tried to be clever and spray bomb the coupler and coupler lug.
D'oh! too much spray leaked into the coupler box.
D'oh! too much spray leaked into the coupler box.
Luckily the coupler was cleaned and a pencil was used to coat the surfaces with graphite.
Put the car back together and test it.
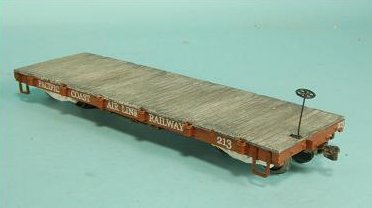
The boxcar uses the new frame and the flat is the one in the article.
Click here to download a PDF copy of this article.
Click here to download a PDF copy of this article.


