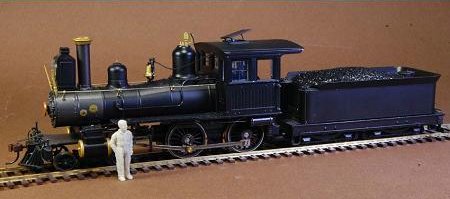
Big Drivers for the 55n3 Bachmann 4-4-0
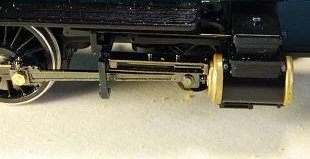
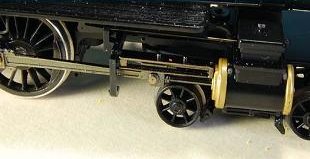
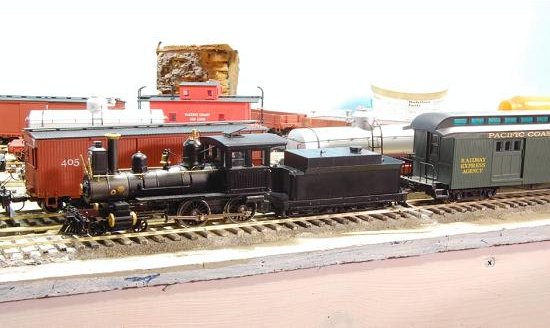
The addition of larger drivers makes the Bachmann 55n3 4-4-0 a long leggity passenger loco.
The drivers for the Bachmann On30 Mogul will work with only the addition of the 4-4-0 drive gear. Here we are fitting Bowser HO 69" drivers, Scale 55 44". The part numbers are:
2 sets Bowser 69" SPK LT FLANGED DRIVER #1-20011
2 sets Bowser SHORT CRANK PIN #1-1720
2 sets Bowser CRANKPIN SCREW #1-80004
2 sets Bowser 69" SPK LT FLANGED DRIVER #1-20011
2 sets Bowser SHORT CRANK PIN #1-1720
2 sets Bowser CRANKPIN SCREW #1-80004
Click here for Bowser Parts.
Click here for Alan Gibson Drivers.
Click here for Romford Drivers from Scalelink.
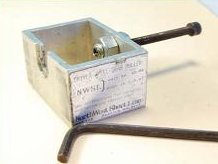
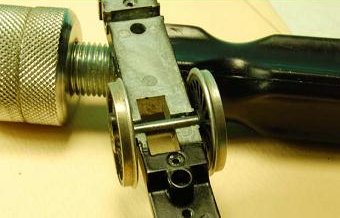
You will need a gear puller. I use the NWSL one.
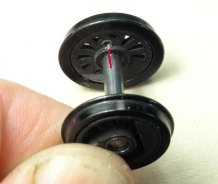
Mark one of the drivers at the crankpin location for quartering with a scriber.
Mark one of the drivers at the crankpin location for quartering with a scriber.
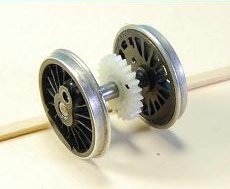
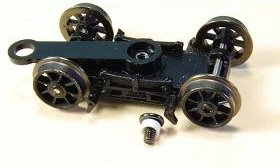
Remove the gear from the 4-4-0 set. Ream the gear with a #31 drill (.120 diameter). Press it onto the Bowser axle. Reinstall the Bowser driver using the quartering mark.
A NWSL quartering tool can also be used to maintain quartering.
A NWSL quartering tool can also be used to maintain quartering.
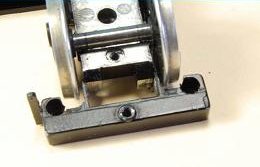
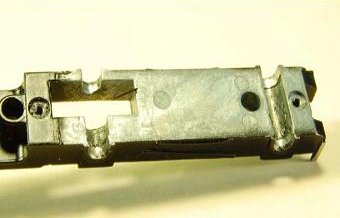
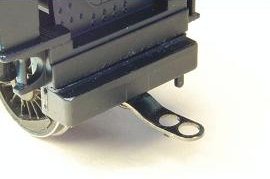
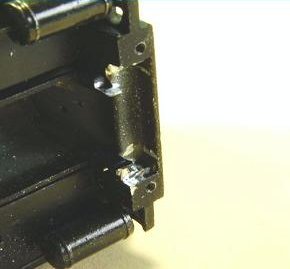
Grind away clearance in the back of the frame to clear the new drivers. I removed the back mounting bracket frame portion because I had planned to do something else with the frame. Don't remove it.
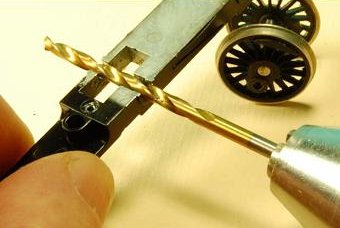
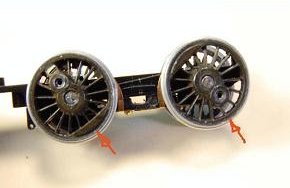
Take a NEW 1/8 diameter drill and roll it into the driver slot. Twirl the drill in the slot, this will widen the slot to 1/8". Then carefully with a back and forth motion remove metal to make the slot 1/8" deep.
The driver should snap into place and be below the frame bottom. They will spin freely.
Pry off the cover holding the pickup wipers with a screwdriver.
Grind clearance into the motor mount for the drivers.
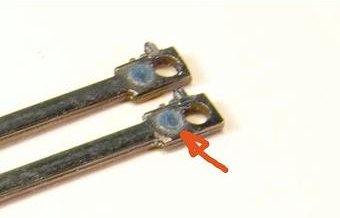
Remove this lug from the backside of the side rods.
Put the drivers into the frame and add the side rods. The driver two side rod end needs to be thinned. The drivers should move freely. If there is a bind elongate the second driver hole horizonally. Testing as you go.
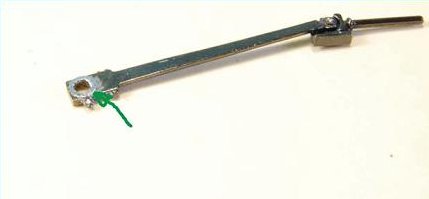
Remove the lug from the drive rod. Assemble the cylinders and the drive rods. Test that everything moves freely.
The crosshead almost bottoms out against the cylinders with the Bowser drivers but there is plenty of room behind the crosshead at the back to adjust the mainrod. Bachmann Mogul drivers have slightly more travel and will bind against the cylinders.
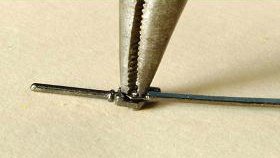
Gently uncrimp the rivet holding the crosshead to the side rod using serrated pliers. Go around the crimp with the pliers.
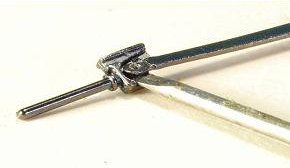
Gently pry off the main rod with a screw driver.
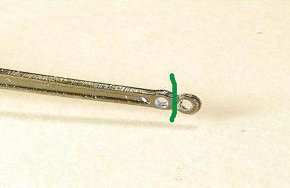
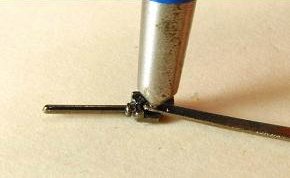
Using a drill the same size as the original hole drill a new hole in the side rod on the flat. Cut off the mainrod and file the end for clearance in the crosshead. Re-crimp the rivet with a 45 degree center punch. The mainrod should pivot freely.
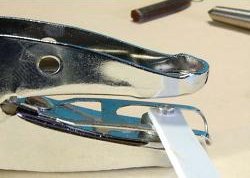
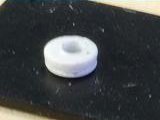
Make a "gland" by drilling a clearance hole for the piston rod in a piece of .060 piece of styrene. Punch it out with an 1/8" diameter paper punch. The "gland" will prevent the piston rod from falling out on the out stroke.
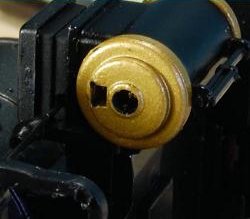
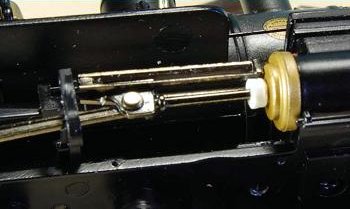
Drill out the cylinder block piston rod hole with a 1/16" diameter drill. Assemble the crosshead and crosshead guide with the "gland". Glue the "gland" to the cylinder with solvent. The crosshead should go in and out easily.
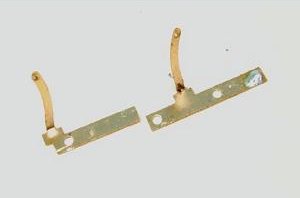
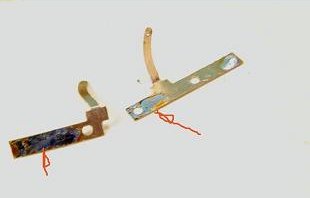
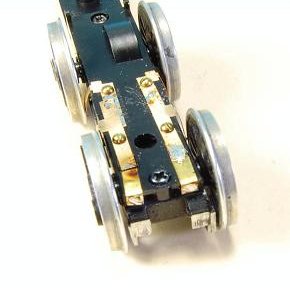
Cut the pickups and "tin" the areas shown. Use rosin flux and 60-40 electrical solder, tinning is applying a thin layer of solder. Remove the original solder on the pickup end and reapply 60-40.
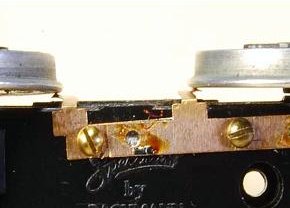
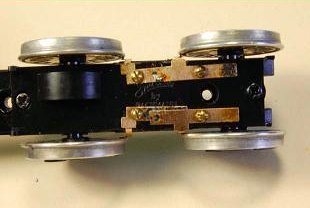
Spot the pickups individually and tap the locations for 00-90 screws. The pickups are brittle so it is best to spot them individually. The screws should be short enough not to hit the frame. Solder the pickups together in place.
Make shim brass electrical extensions and solder them to the pickups.
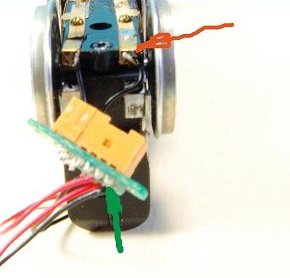
Solder the wiring harness to the pickup extensions. The wires are marked R&L the R goes to the right side when facing the front of the locomotive.
You will have the rear frame cab mount on your frame and the wires and plugs nest in the frame.
When the harness is removed in disassembly put ACC at the base of the wires. This prevents them from breaking easily.
Make a spacer for the pilot truck using 1/8" OD plastic tube. It should be about 1/16" long.
Bend the drawbar down to accommodate the change in height.
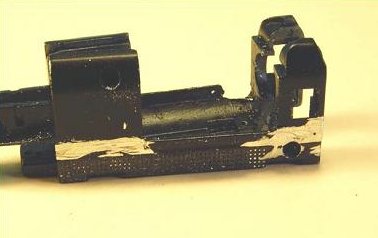
Grind away to clear the drivers on the boiler assembly. Put everything together.
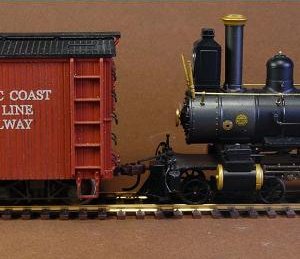
The front coupler matches our 24" coupler height.
From the old On30 PcalRwy Photos, if I had only noticed that the loco was really another scale than 48. "D-OH!!!!!!"


